Every studio begins as an argument with a room that was built for something else. A box room with the boiler in it. The end of a kitchen worktop. A shed that leaks in one corner and bakes in July. You do not need a loft conversion or a perfect north-facing bay window to make work. You need a place where your materials stay put, your light is honest, and you can breathe while you use them. Here is how to build that in a small British home, on a modest budget, without turning the rest of the house upside down.
Choose the right corner of the house
What you make should decide where you make it. Pencil, ink and watercolour are forgiving neighbours — a corner of the living room, a sturdy table by a window, a folding screen to hide the mess at teatime. Oil painting, aerosol fixative, resin, lino printing and anything solvent-based are not. Those need a door you can close, and ideally a window that opens properly.
Think about temperature and damp as well as space. Lofts and conservatories swing wildly between hot and cold, which makes paper buckle, canvases slacken and glue give up. Garages that stay damp will ruin paper and rust tools within a season; if that is all you have, store materials indoors in lidded boxes with a sachet of silica gel and treat the garage as a place to work, not to keep things. Also avoid setting up next to a tumble dryer or a radiator that runs all winter — humidity is the quiet enemy of drying paint.
If the room is shared, pick a spot that can be closed off. A curtain on a ceiling rail, a folding screen, or a trolley that wheels into a cupboard all do the same job: they let you stop being an artist for the evening without clearing everything away.
Get the lighting right
Daylight first
Position your table so light falls across your work rather than from behind you. Facing a window directly is usually a mistake: the glare flattens tone and tires your eyes within an hour, and you end up drawing for the light rather than for the drawing. A sheer voile or a plain white roller blind turns harsh afternoon sun into something soft and even.
North light is prized because it barely changes through the day, but any window is workable once you have a blind. What actually matters is consistency: shifting light makes colour judgement unreliable, and you will chase the same green for three days.
Then add lamps
Two lights beat one. Keep the room light for the room, and put an adjustable lamp close to the work. Look for LED bulbs described as daylight, roughly in the 5000–6500K range, and choose ones with a high colour rendering index where that is stated on the pack — they show colour more faithfully and run cool, which matters when your hand is hovering nearby. An Anglepoise-style lamp, a clamp lamp fixed to a shelf, or even a cheap clip-on will do. If you are right-handed, angle the lamp from the left and slightly above, so your own hand does not cast a shadow over the line you are drawing.
Sort out ventilation before you buy anything else
This is the part people skip, and it is the part that decides whether you can keep working in that room. Solvents, spray fixative, aerosol varnish, resin and oil-based inks all release fumes. So does charcoal and pastel dust, which settles everywhere and is unpleasant to breathe.
- Use an outward-pulling fan. A cheap box fan wedged in an open window, with cardboard taped around the gap, pulls air out of the room. A fan blowing at your face just moves fumes around.
- Keep lids on. A jam jar of white spirit left open overnight will scent the whole landing.
- Spray outside. Fixative and aerosols belong in the garden or in a doorway with air moving past you, never in a sealed bedroom.
- Manage dust. Work over a tray or a sheet of paper, tap dust into a bin rather than blowing on the drawing, and wipe surfaces with a damp cloth.
- Read the label. Solvent containers carry safety information for good reason. Never use them near a pilot light or open flame.
If you plan to use solvents regularly, or you have asthma or another respiratory condition, get proper advice from your GP or a health and safety adviser before committing to a permanent workspace.
Storage you can live with
In a small room, store upwards and keep everything on wheels where you can. A tall narrow bookcase bought second-hand will hold more than a wide low one and takes up less floor.
- A pegboard above the desk, screwed to battens, holds brushes, rulers and scissors and can be rearranged whenever your habits change.
- Clear jars and old cutlery trays keep pencils, clips and odd lengths of charcoal visible and reachable.
- A metal trolley on castors carries your current project and rolls into a corner at the end of the day.
- For flat work, shallow plastic boxes or a large zip portfolio do the job of a plan chest for a fraction of the cost. Slip a sheet of acid-free paper or glassine between finished pieces.
- A spare cooling rack or dish rack makes a decent drying rack for small boards and prints.
- Under-bed boxes take finished work and spare paper out of the studio entirely.
Keep a wet zone and a dry zone apart, even if that just means one end of the table for water and solvent and the other for paper. Label boxes. You will not remember what is in them by March.
Build a surface and a starter kit
Height matters more than style. Elbows at roughly ninety degrees, or work on an easel so your neck is not bent for hours. An old table protected with hardboard, a heavy cotton sheet or a cutting mat will survive far more than the table itself.
You do not need much to begin: a sketchbook, a few pencils in different grades, a putty rubber, a sharpener or craft knife, a ruler, masking tape, a jam jar for water, a rag, and two or three brushes. Buy replacements rather than sets — sets are full of things you will never touch. Add materials when a piece demands them, not before.
Keep the cost down
Charity shops are good for frames, jars and occasionally excellent brushes. Freecycle, Freegle and local giving-away groups regularly list desks, shelving and plan chests when someone clears a house. Many towns have a scrap store or creative recycling centre selling offcuts, card and odd materials by weight. DIY shops sell hardboard and MDF offcuts cheaply, often from a damaged-timber bin. Buy tape, paper and primer in larger quantities once you know you like them, and split a bulk order with a friend. Local art groups and evening classes are worth joining too — they cost little and sometimes give you access to a press or kiln you would never own.
Live with it, then adjust
Set up the minimum, use it for a month, and keep a note of what annoys you. The lamp that never points where you need it. The lack of anywhere to put a wet board. The brushes that keep disappearing. Fix one thing at a time and you will end up with a studio shaped by how you actually work, rather than by how you imagined you might. Give everything a home, keep one clear surface for the piece in front of you, and a corner of a small house will quietly become the most useful room in it.
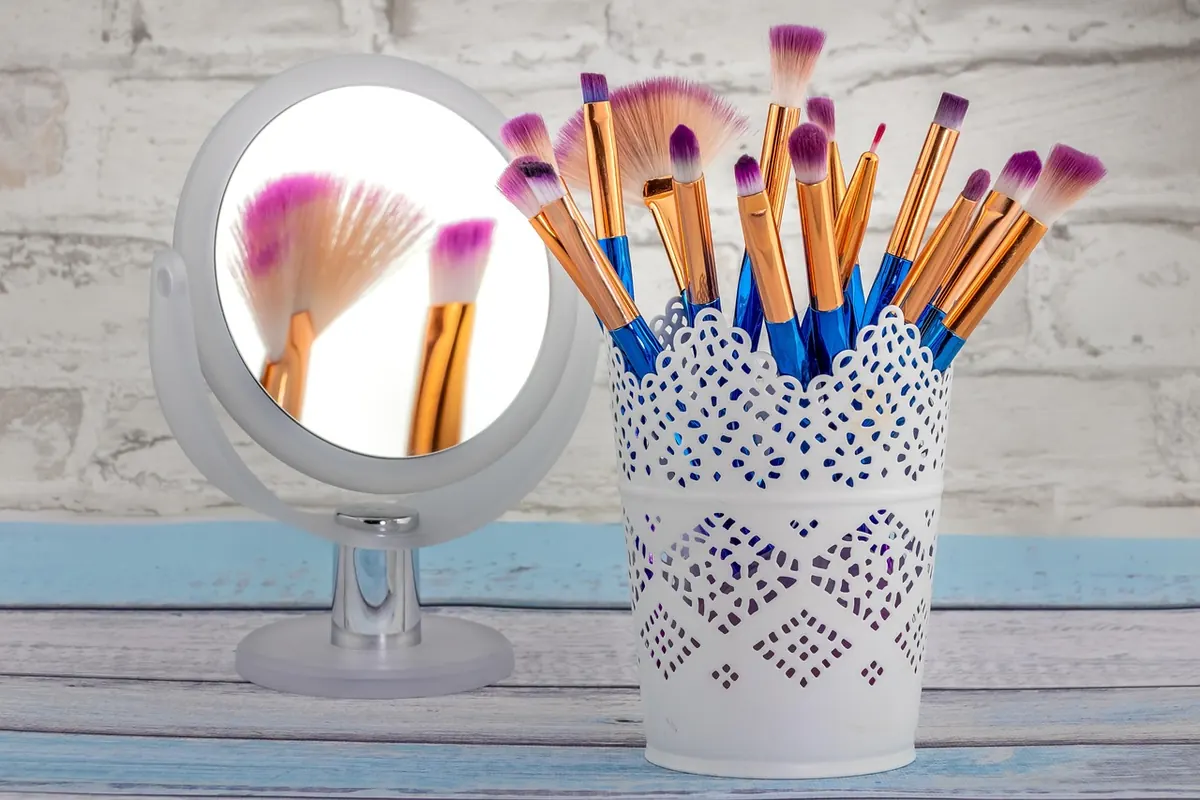
Photo: wal_172619 / Pixabay