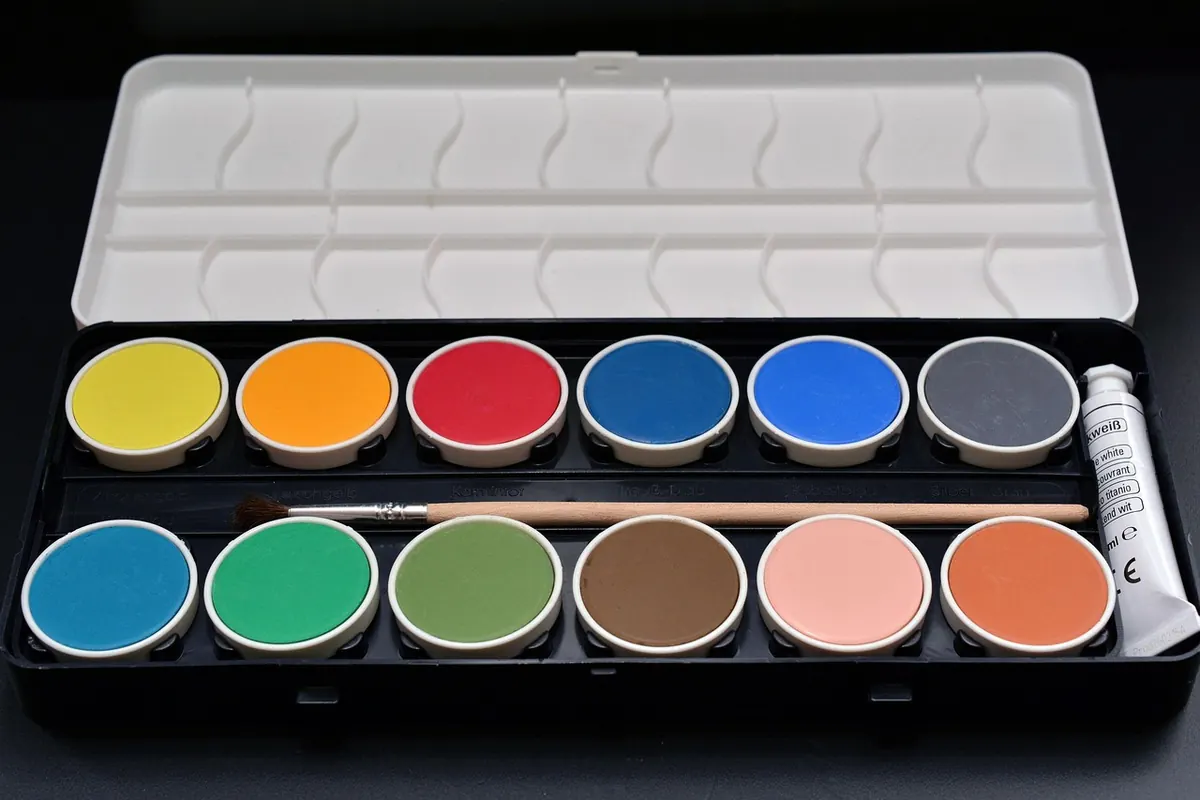
Watercolour has a reputation for being the difficult one. It dries faster than you expect, it refuses to sit still, and a badly chosen brush can turn a simple wash into something muddy. None of that is a reason to put it off. The medium rewards a small, well-chosen kit far more than an expensive one, and a sensible beginner's set-up costs less than most people assume. The difference between a frustrating first attempt and an enjoyable one usually comes down to three things: what the paint is made of, what you are painting on, and what you are holding.
1. Watercolour paint: pans or tubes?
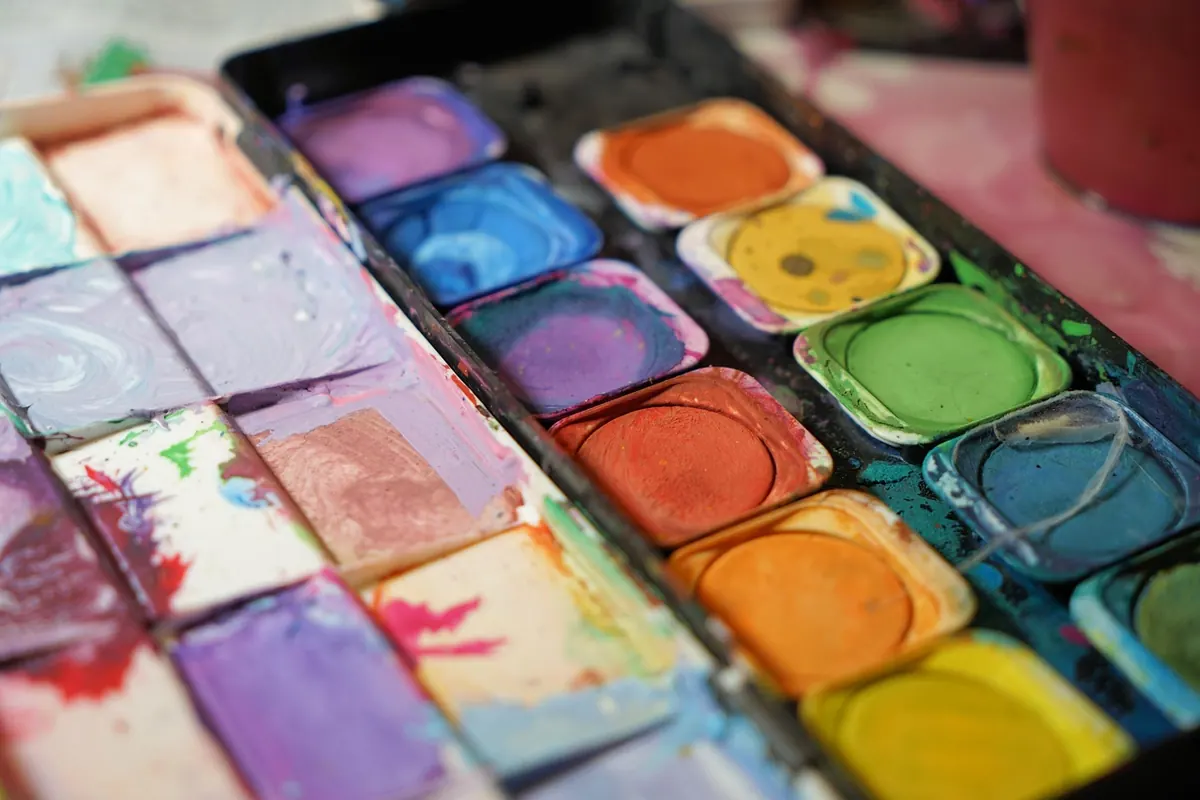
Half pans in a small metal box are the natural starting point. They are tidy, portable, rewet in seconds with a damp brush, and a decent twelve-colour student set will last a beginner for months. Tubes suit painters who work large or mix generous puddles of colour, and they generally give more paint for your money, but you will need a palette to squeeze them onto.
A good compromise is a pan box plus two or three tubes in the colours you use most, usually ultramarine, burnt sienna and a strong yellow. Twelve colours is plenty. Sets of thirty-six look generous, but beginners tend to use every pan straight from the box, and that is how paintings end up looking chalky and over-coloured. Learn to mix.
Buy student-grade rather than artist-grade to begin with. Ranges such as Winsor & Newton Cotman, Daler-Rowney Aquafine, Van Gogh and White Nights are reliable, and the slight loss of strength is not a problem while you are learning how pigment behaves. Avoid unbranded sets from general stationery shops: the colours are often dull or shift completely when they dry.
2. Paper: the one place not to scrimp
If you remember one piece of advice from this list, make it this. Cheap paper buckles the moment it gets wet, dries to a grey film, and pills into little balls if you try to lift colour. It will convince you that watercolour is beyond you when the real problem is the surface.
Look for watercolour paper at 300gsm (140lb) or heavier, cold pressed (also called NOT), which has a gentle texture that suits both washes and detail. A pad glued on all four edges is ideal for beginners because it stops the paper cockling without any preparation. Loose sheets cost less per sheet and let you try different brands.
Wood-pulp papers such as Bockingford are perfectly good for practice and cheap enough to be generous with. Cotton papers, including Fabriano and Arches, behave beautifully but cost noticeably more. If you do buy lighter paper, stretch it: soak the sheet for a few minutes, lay it flat on a board, tape the edges down with gummed tape, and let it dry completely before painting.
3. Brushes: three will do
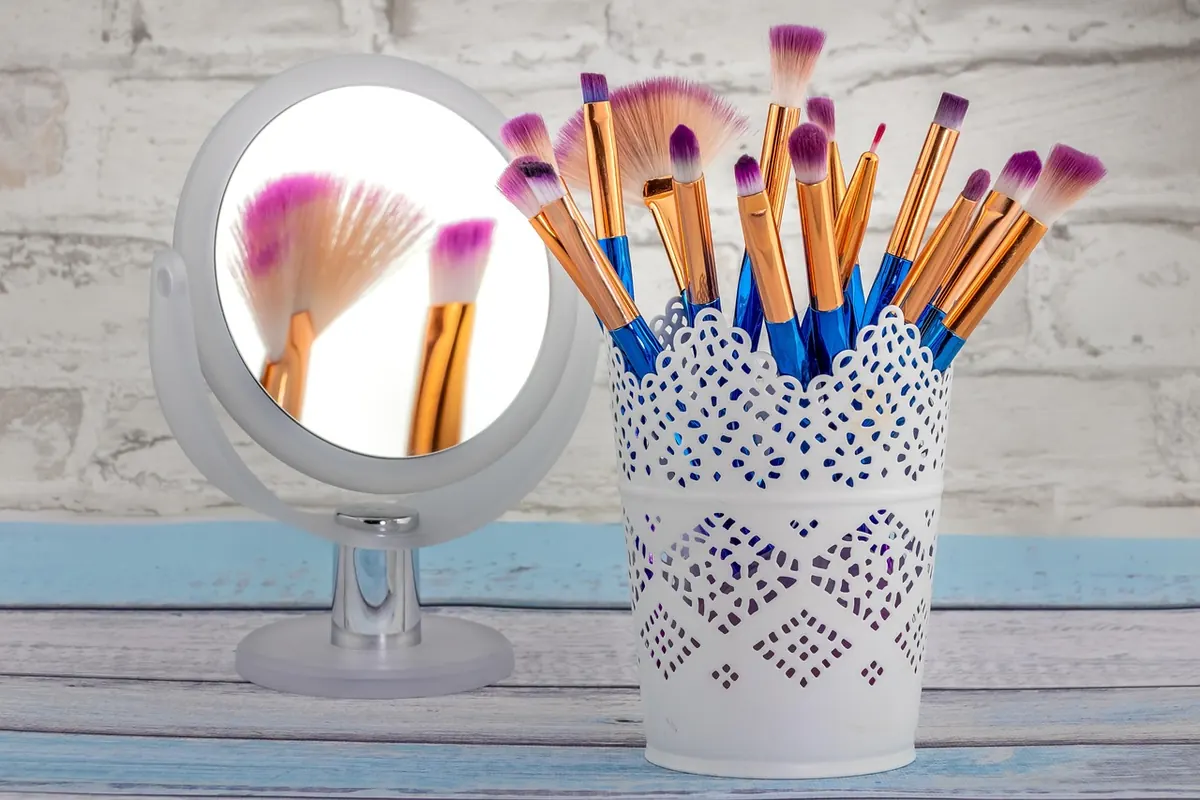
You do not need a roll of twenty. A round in roughly size 10 or 12 carries plenty of water and covers big shapes; a round in size 6 handles smaller areas and edges; a one-inch flat or a mop is useful for laying in skies and backgrounds quickly.
Synthetic brushes are the sensible modern choice. They hold a point well, last a long time if you look after them, and cost a fraction of sable. Squirrel hair holds a lot of water but tends to flop; sable is lovely and expensive. Test a round by wetting it and flicking it to a point — if it splits into a fork, leave it on the shelf.
Look after them and they will outlast your first few pads. Never leave a brush standing in water, reshape the tip with your fingers after rinsing, and dry them flat or tip-up in a jar.
4. A palette and two water pots
A white folding palette with shallow wells is cheap, portable and easy to clean. A white china plate or a butcher's tray works just as well at home, and the white surface lets you judge a colour honestly before it touches the paper.
Two containers are better than one: clean water for mixing, and a second jar for rinsing brushes. A plastic tub with two compartments does the job. Add a small spray bottle — a quick mist rewets dried pans faster than dripping water from a brush, and it is useful for keeping a wash damp while you work.
5. The supporting cast
These are the items that quietly make the difference between a smooth session and a fumbled one:
- A 2B pencil and a putty eraser. Draw lightly, and lift the guidelines once the paint is dry.
- Low-tack masking tape or gummed tape. Holds paper flat and gives you a clean white border.
- Kitchen roll or a cotton rag. For drying brushes, mopping up spills and lifting colour out of a wash.
- A small natural sponge. Dampen paper evenly or lift texture from a drying wash.
- A board. Foam board or a scrap of MDF gives you something to tape paper onto.
- A sketchbook. Plan a composition in pencil before committing to a sheet of good paper.
6. Where to buy in the UK
Independent art shops are worth the trip. Staff usually paint themselves, and most sell "open stock" — individual pans, single sheets of paper, one brush at a time — so you can build a kit around what you actually use instead of buying another boxed set. Cass Art, Hobbycraft and The Range cover the high street, though stock varies a lot by branch. The Works is handy for cheap practice pads.
For mail order, Jackson's Art Supplies, Ken Bromley Art Supplies and Great Art are long-standing UK options with wide ranges, and the SAA (Society for All Artists) is worth knowing about if you want beginner-friendly guidance alongside supplies. Signing up to a shop's newsletter often gives you early notice of sales; student-grade sets and own-brand paper are the things most frequently discounted.
A few money-saving habits: buy the largest pad you can afford and cut it down, split a set of tubes with a friend, and check whether a local art group runs a swap or sale. Second-hand brushes are common in charity shops, though check the ferrule is tight and the hairs are not splayed.
Start small, paint often
Buy the best paper you can justify, keep the paint cheap, and spend your first sessions on flat washes, graded washes and wet-in-wet blends rather than finished pictures. A single sheet divided into squares makes a good evening's practice: one wash per square, noting how long the paper stayed damp and how the colour changed as it dried.
Add supplies as you notice the gaps. If you keep reaching for a finer point, buy a smaller round. If your skies look patchy, the paper is usually the culprit rather than the paint. A modest kit used regularly will teach you more than a cupboard full of equipment ever will.
Photo: anncapictures / Pixabay