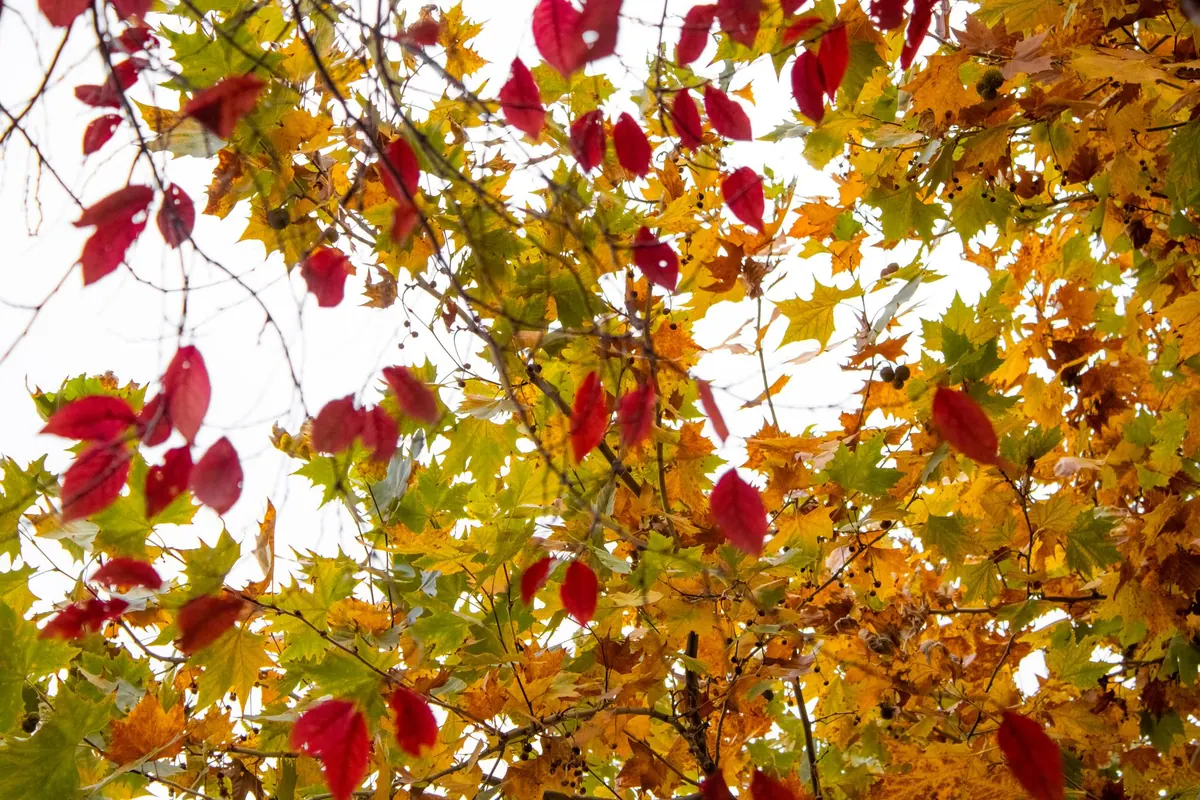
Autumn is the most generous season for a watercolourist. The subject changes every week or so, the palette is already sorted for you in the hedgerow, and one branch of turning beech can teach you more about paint behaviour than a month of studio exercises. The skill lies in knowing when to let the water do the work and when to pick up a drier brush. What follows is a workable sequence, from the first wet wash to the final crisp edge.
Before You Wet the Paper
Watercolour is unforgiving of poor paper. Anything lighter than 300gsm (140lb) will cockle the moment you lay a decent wash, and hot-pressed surfaces give you almost nothing for a dry brush to catch. Cold press or rough, cotton if your budget stretches to it, makes everything below considerably easier.
You do not need a suitcase of pigment. A compact selection will cover the whole season:
- Warm yellows: yellow ochre, quinacridone gold or hansa yellow deep
- Oranges: transparent orange, or pyrrol scarlet mixed with a warm yellow
- Reds: alizarin crimson, quinacridone magenta
- Darks and browns: burnt sienna, burnt umber, indigo or sepia
- Greens: sap green or olive green, plus ultramarine to cool them down
Add a size 10 or 12 round that holds a point, a size 6 for detail, a rigger for stalks, one worn flat or a fan for dry brushing, two water pots and a few tissues for lifting. That is your kit.
Read the Foliage Before You Paint It
Autumn leaves are never one orange. Hold a turning leaf up to a window and the light coming through turns a dull rust into something closer to glowing amber, with veins reading as darker lines rather than pale ones. The same leaf in shadow shifts towards violet-brown: burnt sienna with a touch of ultramarine, or alizarin with a little indigo. Squint at your subject. Compare leaves with each other rather than trying to match any one of them exactly, and you will start to see the temperature differences that make a painting read as sunlight rather than decoration.
Mix Less Than You Think
Two or three pigments per passage is plenty. Anything more, especially if you stir them thoroughly on the palette, produces the grey-brown sludge that ruins more autumn paintings than any other mistake. Mix loosely, let colours meet on the paper, and rinse your brush properly between changes. Keep one pot of water reasonably clean for diluting and use the other for rinsing.
Wet-on-Wet: Soft Masses and Blended Colour
Load a clean round brush with water and paint the general shape of a leaf cluster. Not each leaf — the mass. Let it sit for a few seconds until the shine has gone, then touch in colour: yellow first, then orange, then a red at the tips and outer edges. Tilt the board slightly so the pigment drifts, and resist going back over anything with the brush. Every stroke you add after that point flattens the blends you just created.
Because watercolour is transparent, you cannot add light later. Leave pale gaps where the sun catches a leaf, and leave paper white for the brightest highlights. Work from light to dark in layers, drying in between.
Judging the Sheen
Shiny means too wet; colour will flood outwards and form hard rims. Matte means too dry; your new paint will sit on the surface as a hard-edged blob. You want satin — damp enough to blur the edges of a stroke, dry enough to hold its shape. Test the surface by touching a corner with the tip of a clean brush. If water spreads immediately, wait a minute.
Dry Brush: Crisp Edges, Veins and Texture
Squeeze the brush on a tissue until it is almost dry, then drag it lightly across rough paper. The pigment catches the peaks of the grain and skips the hollows, leaving broken, crunchy texture — precisely what a curled oak leaf looks like in November. Use this for serrated edges, brittle stalks, twiggy branches and bark. Keep the brush at a shallow angle to the paper and move quickly; hesitation gives you a heavy, greasy line instead.
Veins work both ways. Paint fine dark lines where the leaf curls into shadow, and lift them out with a clean damp brush while the wash is nearly dry. Alternating the two is what stops a painted leaf looking like a flat cut-out.
A Single Leaf, Step by Step
- Draw the silhouette lightly — three or four overlapping leaf shapes and a stem, nothing more. Simplify aggressively; a convincing cluster beats an accurate crowd.
- Decide where the light is and protect those areas. Leave the paper bare for the brightest passages and pencil a small mark so you do not forget.
- Lay the first wash wet-on-wet with yellows and pale orange. Keep it loose and stop short of the outer edge so the shape stays readable.
- Let it dry completely, then add mid-tones with a drier brush: burnt sienna, a warmer orange, a touch of red at the edges.
- Paint the background around the leaf group with a cool shadow wash — ultramarine with a hint of burnt sienna — to push the leaves forward.
- Lift veins and add a soft cast shadow beneath the leaf. A cool, slightly violet shadow anchors it far better than grey.
- Finish with a few dry-brush accents along the crispest edges and one strong dark for contrast.
When It Goes Wrong
- Muddy colours. Too many pigments, or too much brushing over damp paint. Rinse, reload with two colours and leave the paper alone.
- Confetti leaves. Identical shapes at identical contrast. Group them into masses and vary the edges — some sharp, some lost.
- Hard edges everywhere. You are painting wet paint onto dry paper. Dampen the area first for soft passages.
- Backruns in the wrong place. A wet puddle has hit a drying patch. Blot with a tissue and wait, or work the bloom into the design.
- Weak, sugary reds. The wash is too thin and has been layered too many times. One stronger, confident wash beats four timid ones.
Practise Through the Season
Autumn moves quickly, so work small and often. Ten-minute studies in a sketchbook, one brush and a pocket tin, will teach you more than a single laboured painting. Collect fallen leaves, but mix your colour from life where you can — photographs flatten the temperature shifts that make foliage glow. Date each study and keep them, even the failures. By the time the last leaves drop, you will have a record of a whole season and a set of colour mixes you can rely on next year.
Photo: Tuğba / Pexels